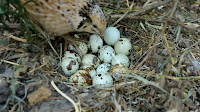
One of my dreams for my quail and which actually came into fruition after this build was for them to sit and raise their own chicks. Above is my Golden Italian quail, Caramel concentrating on doing the former! In the third and final part of this article, I'll look at the particular plants and structures I chose to complete the environment.
Preparing the Site and Laying the Bottom Board
The Bottom Board each made from a single large pallet length were laid in position and the earth was adjusted accordingly. At the end of the build a layer of brick was dug in to butt up to this board to prevent ingress from rats. It has worked so far!
Support Posts
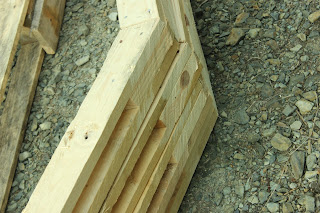
These as previously stated were made of a long pallet wood plank cut lengthwise and then sandwiched together with nails.The posts were then pointed at one end and driven into the ground in their designated places i.e. where they would support the windows.
Fitting the Outer Facing Board
Another long pallet length was fitted to the top of the posts on the outside face so as to be vertically inline with the bottom board.
Preparing and Fitting the Windows
The casement windows have a central vertical weatherstrip attached to one of the pair both on the inner and outer face, approximately a 4" length was removed from the top and bottom of the window, so as to permit the inner and outer board to fit snuggly against it.
Fitting the Windows
The windows rest on the bottom board.
They are sandwiched between the outer and inner board at the bottom and inner and outer barge boards at the top.
These boards in turn are screwed to the posts. This is why the posts are cut to the exact window thickness.
Gable End
This comprises just outer boards, to which are screwed laths to sandwich the polythene.
Diagonal braces stiffen the structure.
Roof Carpentry - Construction
In order that the four roof trusses should be identical, a jig was created from two pallets, so that each truss could be replicated easily.
Each truss comprised 4 standard pallet planks nailed to 'stops' and a ridge plate. These were sandwiched between the planks at the bottom and top respectively.
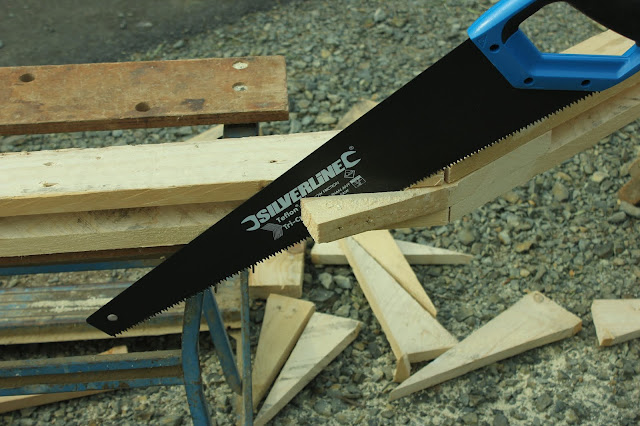
The stops were trimmed to the slope line of the trusses with a saw once they they were nailed together as were the ridge plates (picture above). This is much easier than trying to gauge the slope and cut each stop and ridge plate beforehand.
Roof Carpentry - Fitting the Trusses
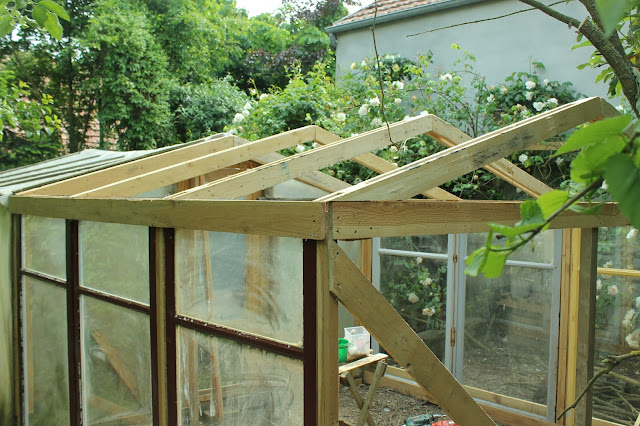
The first truss to go on was the one that butted onto the end of the existing greenhouse and was screwed to it.
The second was the one that fitted to the opposite gable end. This truss was screwed through the 'stop' to the top barge board of the house carpentry.
I then ran a string between these two, so as to make sure that I had all the other trusses in line.
I also ran a plumb line to check for vertical levels too.
Fitting the Wire and Roof Ridges
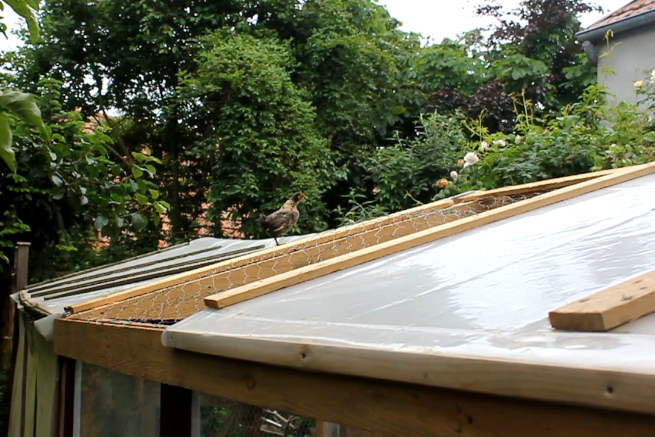
The wire was fitted to the first pair of trusses with planks to hold it into place. This was also to facilitate the screwing in of polythene covers in the Winter.
Two lengths of long pallet wood planks (purlins) were screwed either side of the ridge to join the trusses and form a rigid roof structure.
Fitting the Polythene
In some of the images above, I have shown the polythene already in place but in this final segment, I'll just go through how that was achieved.
The polythene was positioned and held in place with spring clamps and then screwed to the roof trusses with pallet plank laths.
The edges of the polythene were secured with narrower laths and screwed in place (see detail below)
In the next and final segment, see below, we will look at planting up, with suggestions for vegetation and fitting out the environment with ideas for additional features.
Thanks for dropping by and do feel free to share experiences or ask for further information in the comment section. If you have enjoyed this piece and found it useful think about sharing it with your family and friends, on social media and also maybe about joining this blog and/or subscribing to my Youtube, Odysee or BitChute Channel or even supporting us on Patreon or
Until next time, all the very best from sunny Normandie!
© 2021 Sue Cross









Hi, is there a link to third part - about the planting up?
ReplyDeleteSorry not to reply sooner but Blogger has changed my sign in here for comments so this is just a workaround. I realise I never wrote up the final part of this article and thank you for reminding me - I will do it in the next few days. There used to be an actual mix for quail of seeds from their native habitat that you could purchase - you might think about that too but essentially I planted the area according to what I'd observed when my quail were out free-ranging, the and the changes of behaviour vis-à-vis certain environments. The latter is not always the same for each individual quail but it seemed to me important to incorporate several mini milieu within the space, for example if you watch this film https://www.youtube.com/watch?v=HzgQRVqeWwA you will see that the two quail I took gardening with me behaved totally differently in an open space and this was an important factor for me when planting up. Hope this helps and all the very best from sunny Normandie, Sue
DeleteAlso interested in the planting up article!
DeleteHi Both, I have just posted this article you can find it here https://holistic-hen.blogspot.com/2023/07/Planting-up-safe-quail-environment.html All the very best from Normandie, Sue xx
Delete